Thank you for choosing Titan Email for your Business!
We are delighted to assist you in elevating your business communications, building trust, and strengthening your brand with your customers.
Follow this guide to quickly set up and start using your new email service.
Step 1: Configure DNS Settings
Before your email can function correctly, you need to update your DNS settings. Please visit our DNS Configuration Guide for detailed instructions on how to update your DNS records to correctly point to the Titan Email servers. It is crucial to ensure these settings are correct for your email service to operate seamlessly.
Step 2: Accessing Your Titan Email Order
After purchasing Titan Email, here's how to access your order:
1. Log into your Control Panel.
2. Navigate to 'Manage Orders' -> 'List/Search Orders.'
3. Select Titan Email from the 'For Product' dropdown menu to find your specific order.
4. Click on the domain name associated with your order to reach the Order Information view.
Step 3: Creating Your Email Addresses
Now that you have accessed your Titan Email order, it’s time to set up your email addresses:
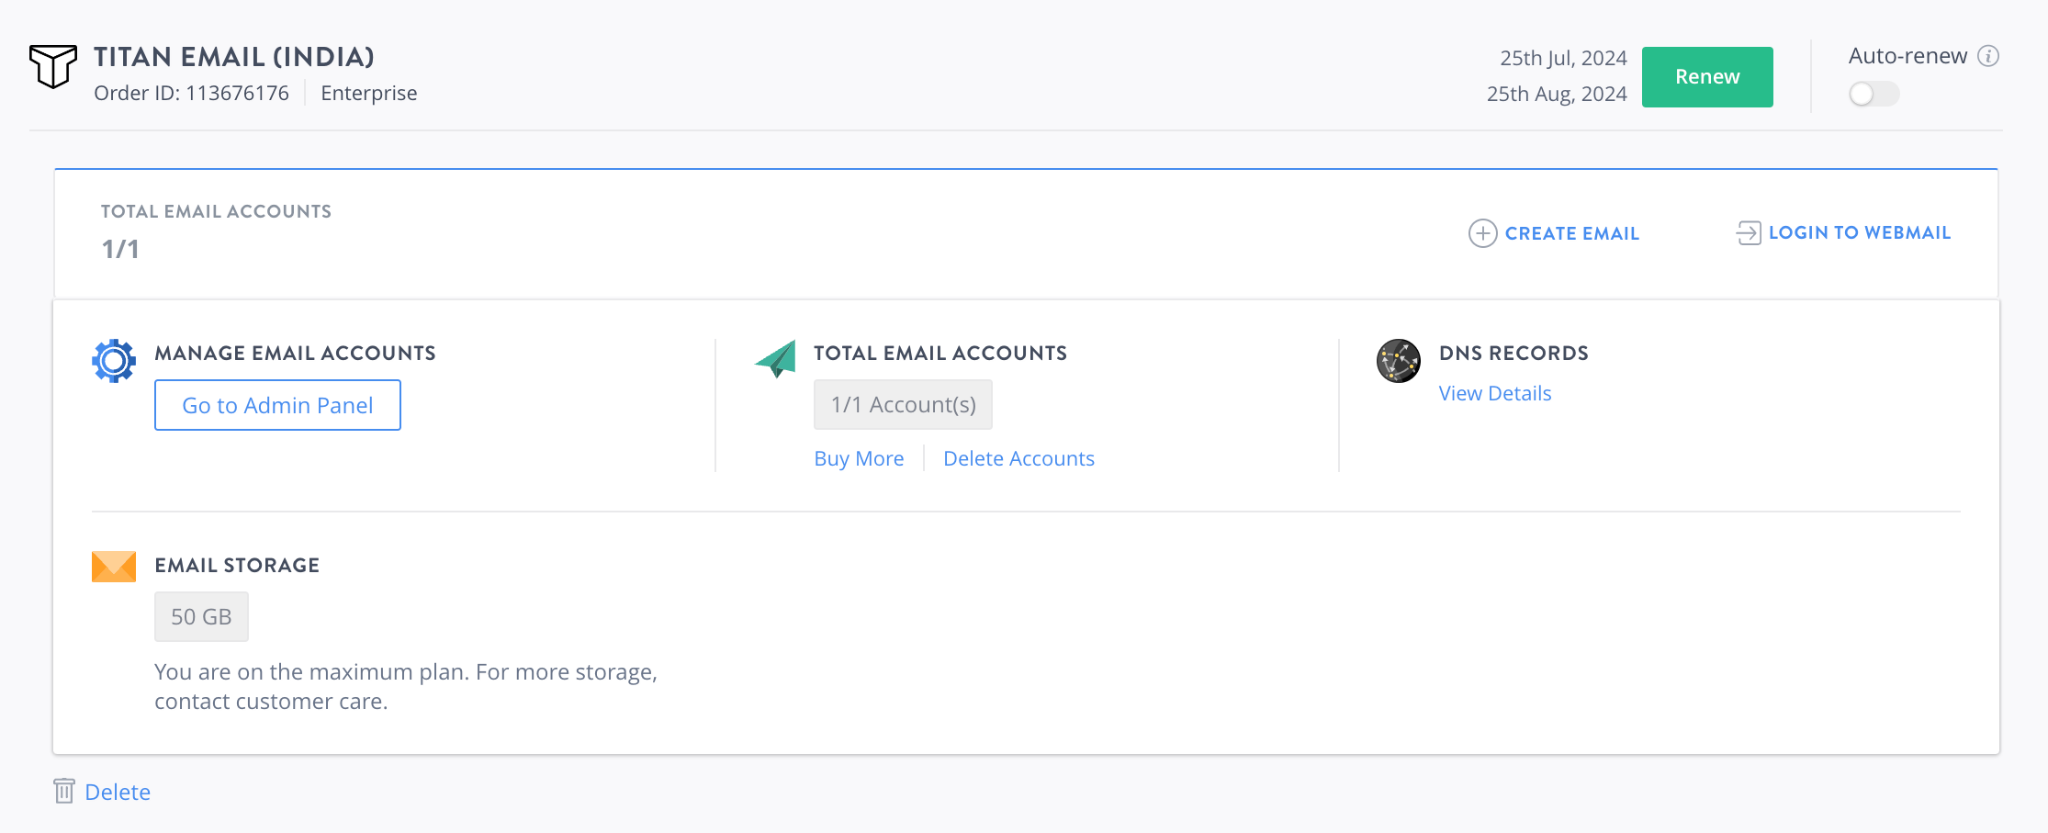
1. In the Order Information view, locate and click the 'Go to Admin Panel' button to access the Titan Email Admin Control Panel.
2. Follow the instructions provided in Titan Email's support article to create your email addresses: Create Email Accounts via Email Control Panel.
3. Each Email Account you purchase allows you to set up one active email address. You can always purchase more accounts as needed.
Step 4: Accessing Your Webmail
Once your email addresses are set up:
1. Use the 'Login to Webmail' button in your Control Panel—this will direct you to the webmail login page.
2. Log in using the full email address and password you set up in the Admin Control Panel.
If you encounter any issues or have questions that are not addressed, our support team is ready to assist you.